¶ Plesk Extension
The WebTotem Security Plesk extension (hereafter referred to as the “Extension”) monitors websites and prevents website attacks with the help of special internal and external utilities.
¶ Install Extension and purchase a license
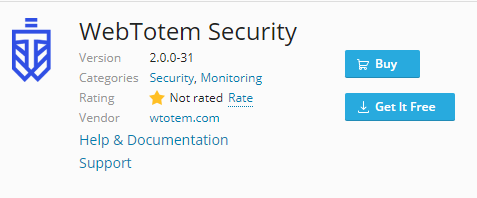
- Navigate to the “Extensions” section
- Search for the Extension using the name "WebTotem"
- Click on the “Buy” button
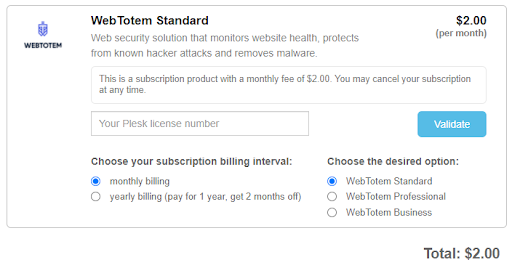
Select the desired subscription plan and billing interval.
¶ Install License
- Navigate to the “Tools and Settings” page
- Go to the “License Management” page
- Click on the “Additional License Keys” tab
- Click on the Install a “License Key” button
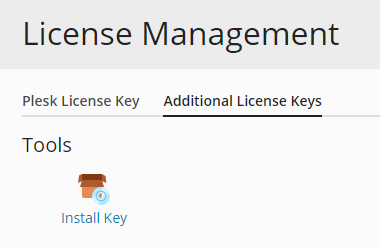
Enter an activation code and click “OK”.
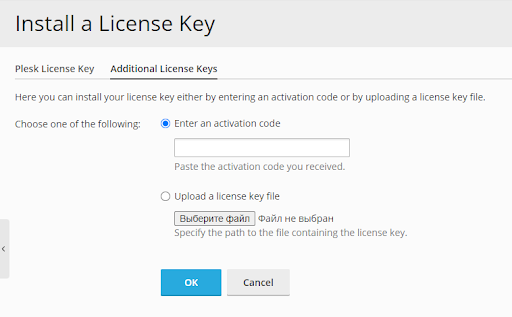
Done!
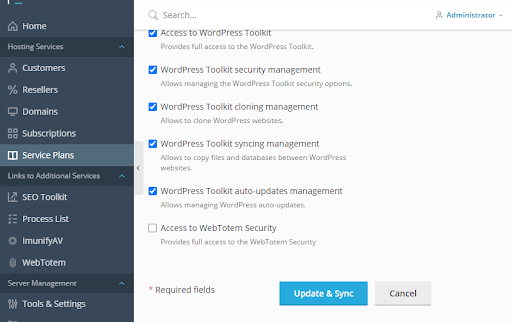
¶ Add a user
Use Plesk service plans to give users access to the Extension.
¶ Add a site
To add a site, first, click on the "ADD SITE" button:

Next, do the following:
- Select the site
- Specify a tag in the “Tag” field (optional)
- Click on the “ADD SITE” button
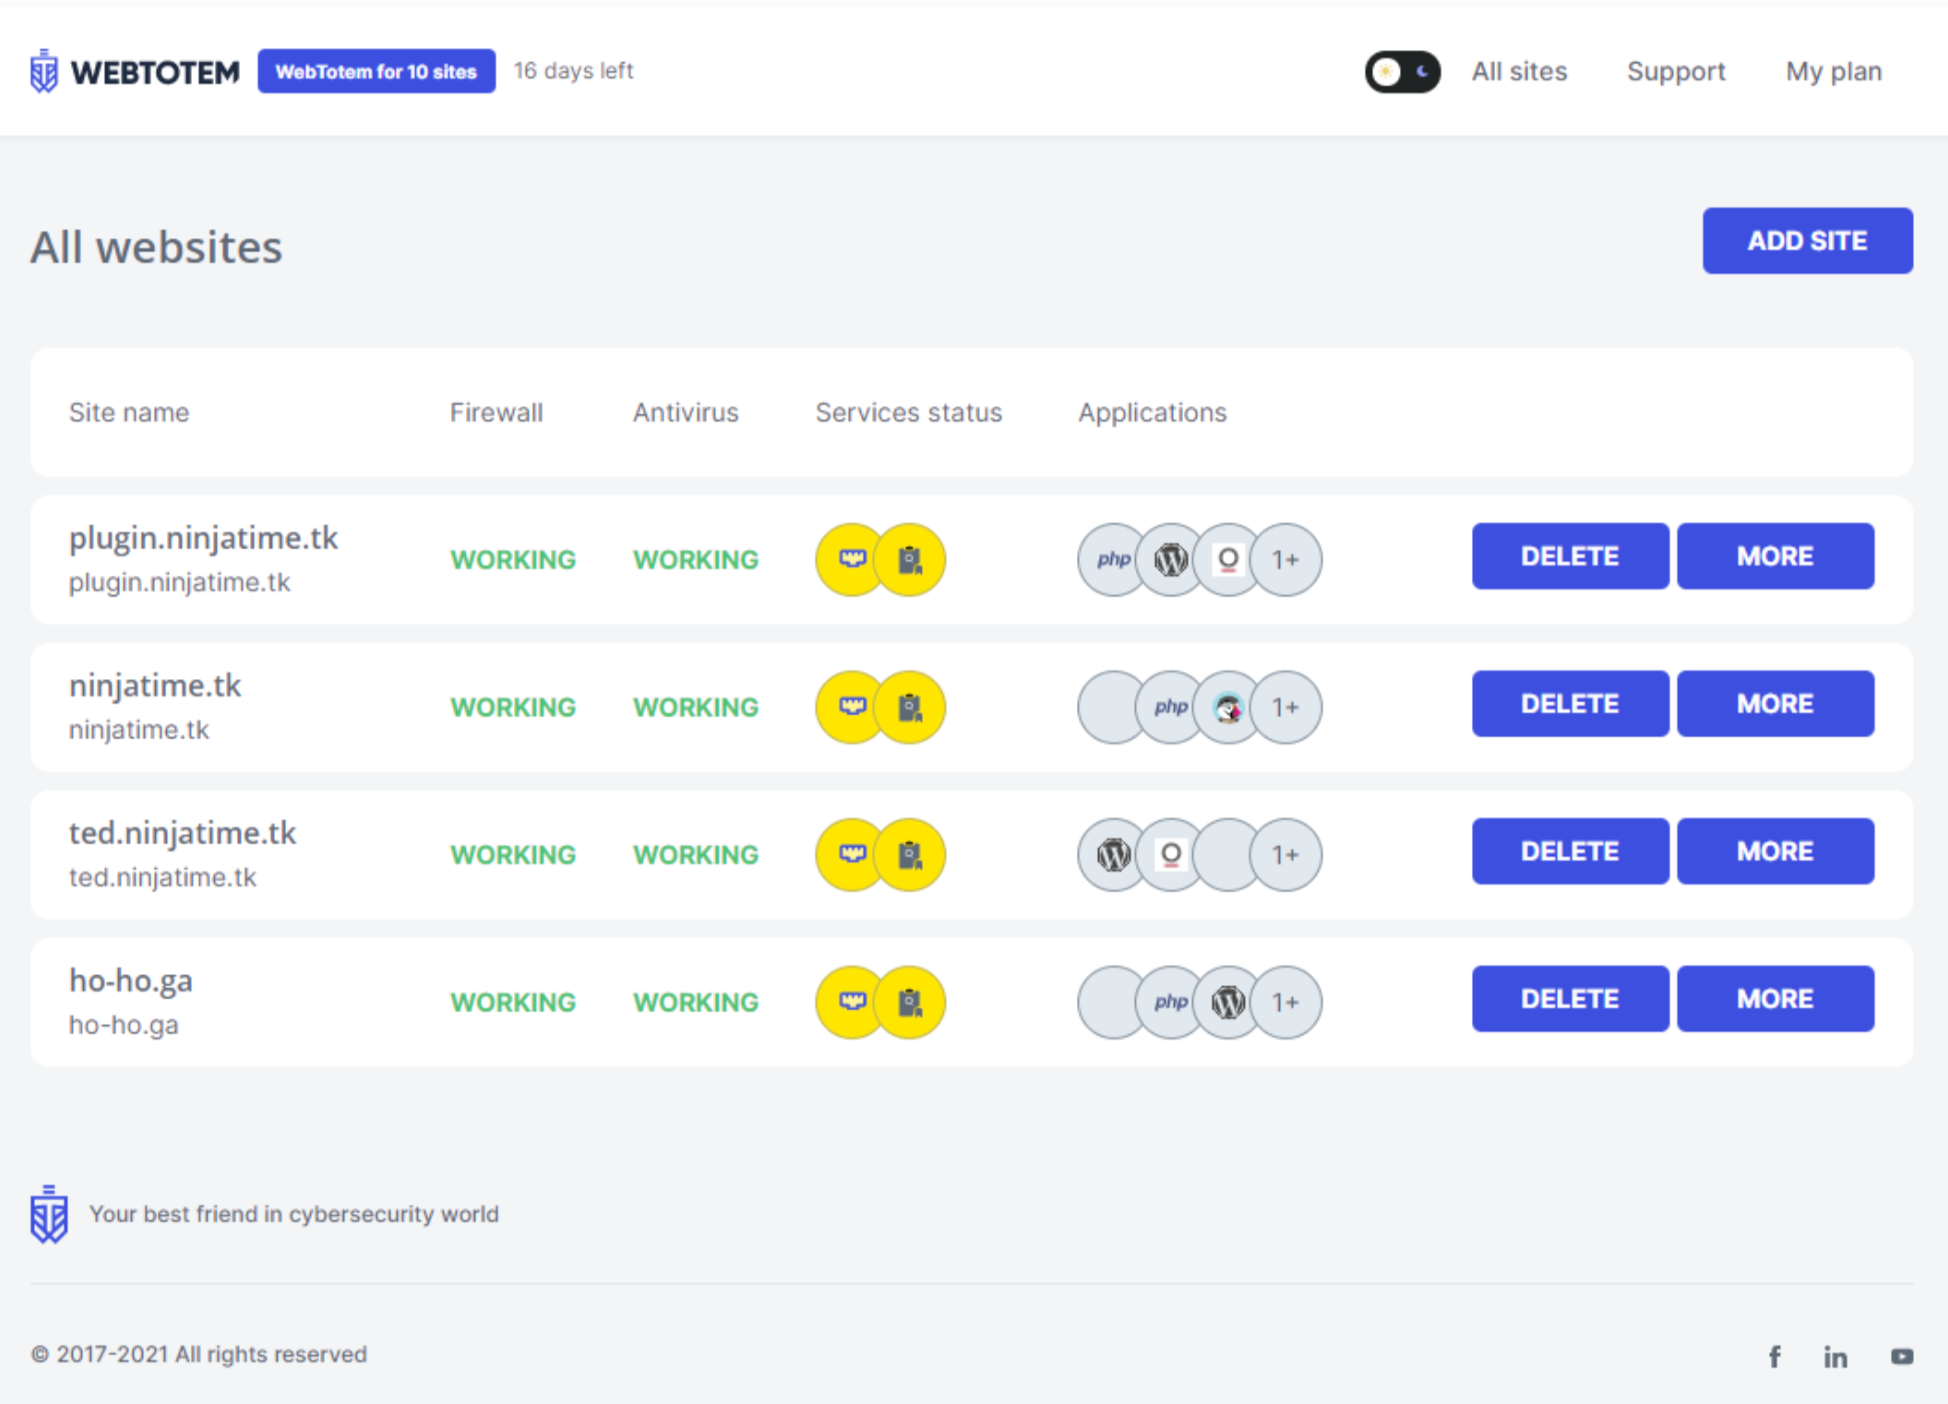
Once the site has been successfully added, it will appear in the list.
¶ Delete site, install agents, and retrieve site information
If agents are not yet installed on a previously added site, you will see two buttons on the right side of the block:
- DELETE: To delete the site
- INSTALL: To install agents on the site


When you press the “INSTALL” button, you will be redirected to a page with information about the website, and the agent installation process will begin automatically.


After the agents are installed, the “MORE” button will be available in the site block to view information on the site.

¶ Main elements of the Extension
After authorizing and opening the Extension, you will be redirected to the main panel of the system.
The home page of the Extension includes a fixed top menu.

For convenience during day and night usage, the interface includes a theme switch.
To go to the main page of the Extension or to view the list of sites and their information, choose “All Sites” in the top menu.

To view individual data of the resource, go to a page with the full site information, using the "MORE" button, visible after the agent installation.
¶ All stats page

On the All Stats page, you can access data on the following:
- Malicious Scripts: Ensures no Trojans, viruses, malware, or other malicious programs harm your website visitors.
- Deface Scanner: Notifies you if unauthorized changes have been made to your website.
- SSL Scanner: Keeps you informed about SSL certificate updates.
- Port Scanner: Provides information about the state of open TCP/UDP ports on the server where your website is hosted and notifies you about new port openings.
- Reputation: Notifies you if your domain/IP is blacklisted (e.g., Google, Safebrowsing).
- Availability: Ensures that websites are available worldwide at all times.
- Security Update: Monitors vulnerability databases and notifies you about updating the platform (in case you use a CMS platform on your site).
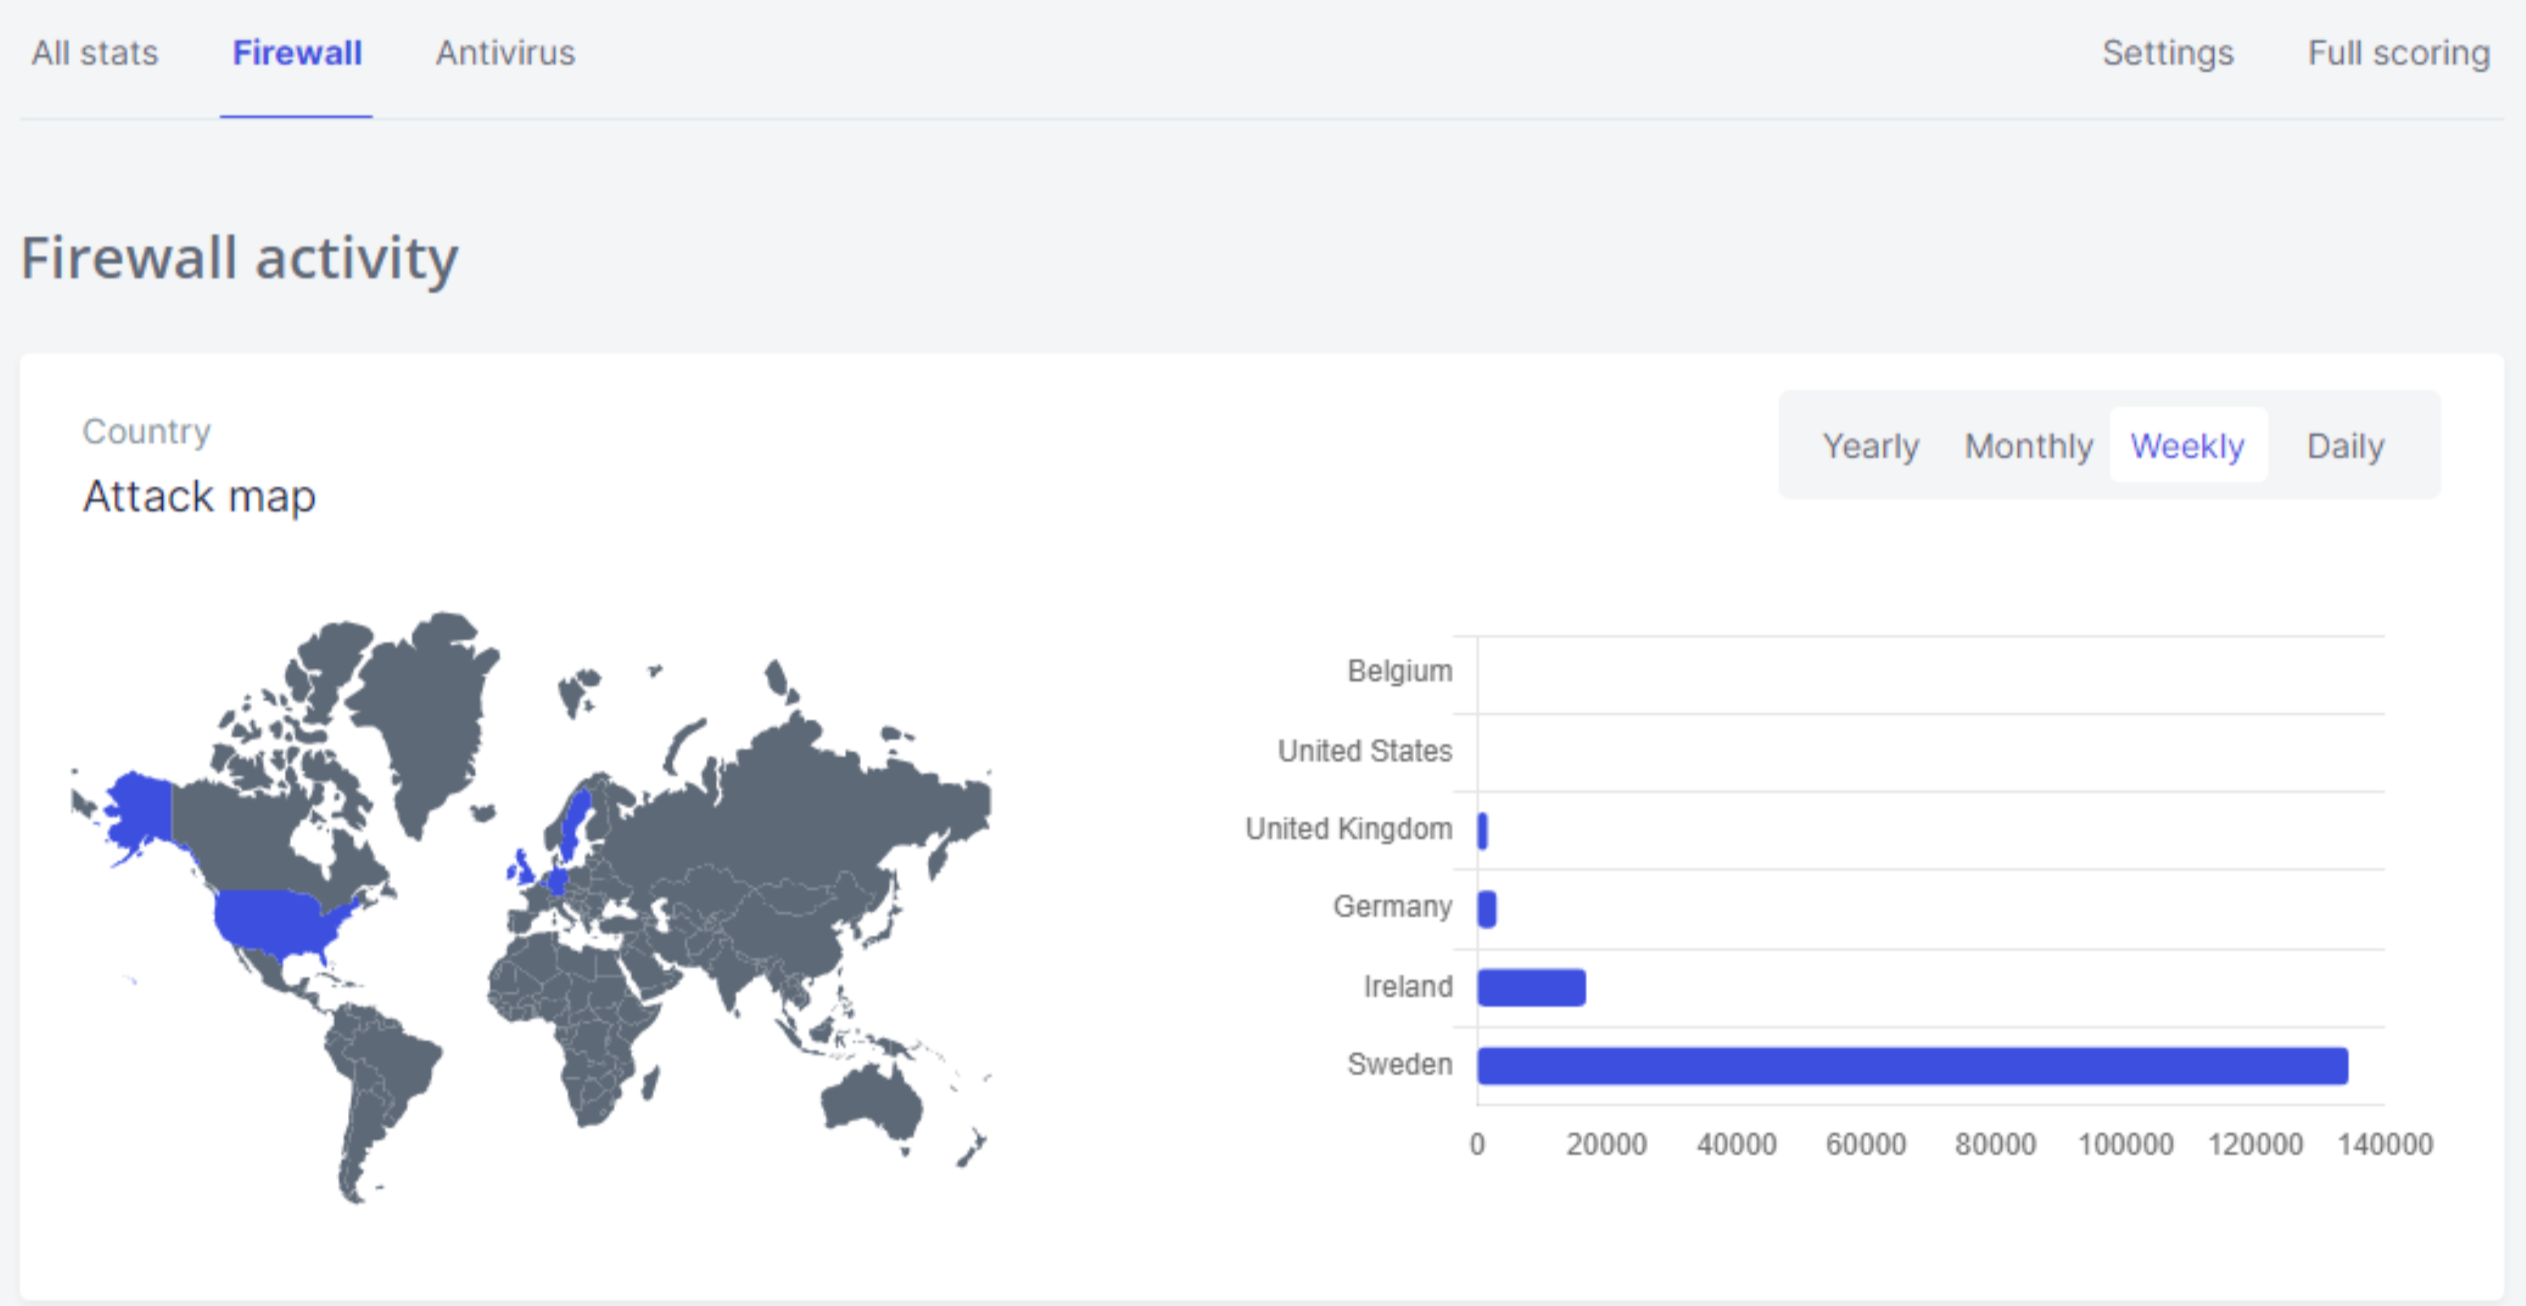
¶ Firewall page
The "Firewall" page displays all data related to attacks on the site.
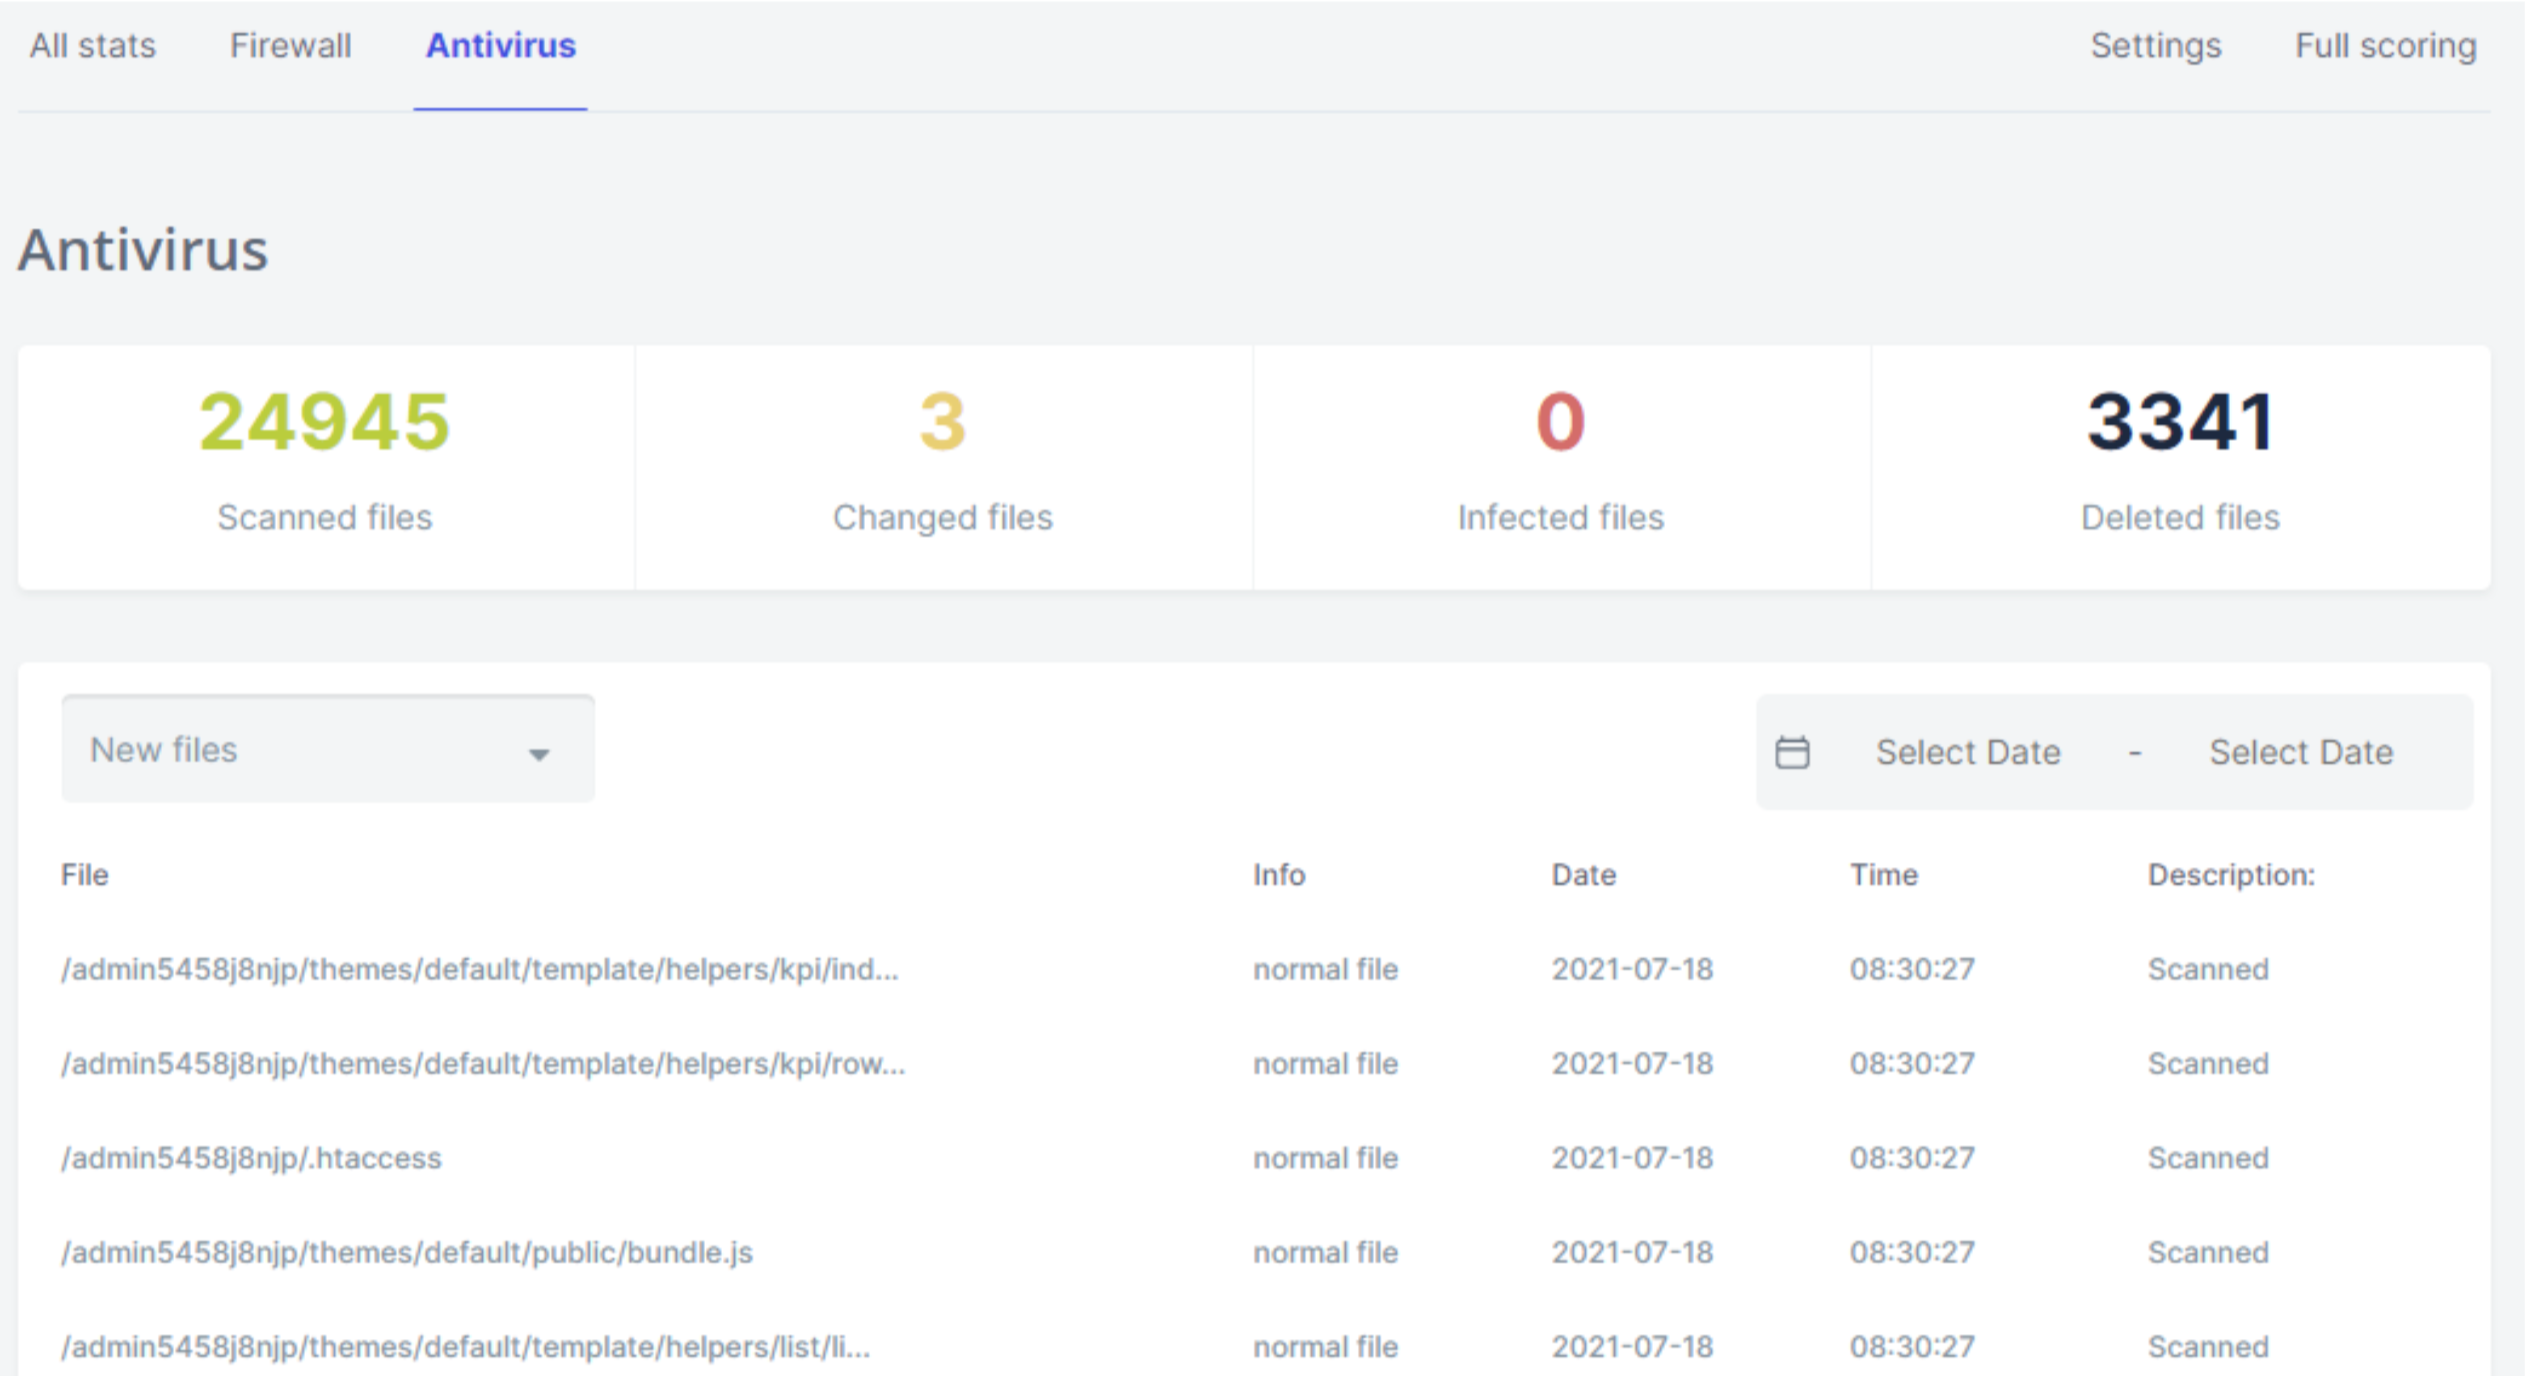
¶ Antivirus page
The "Antivirus" page allows you to view data on scanned site files.
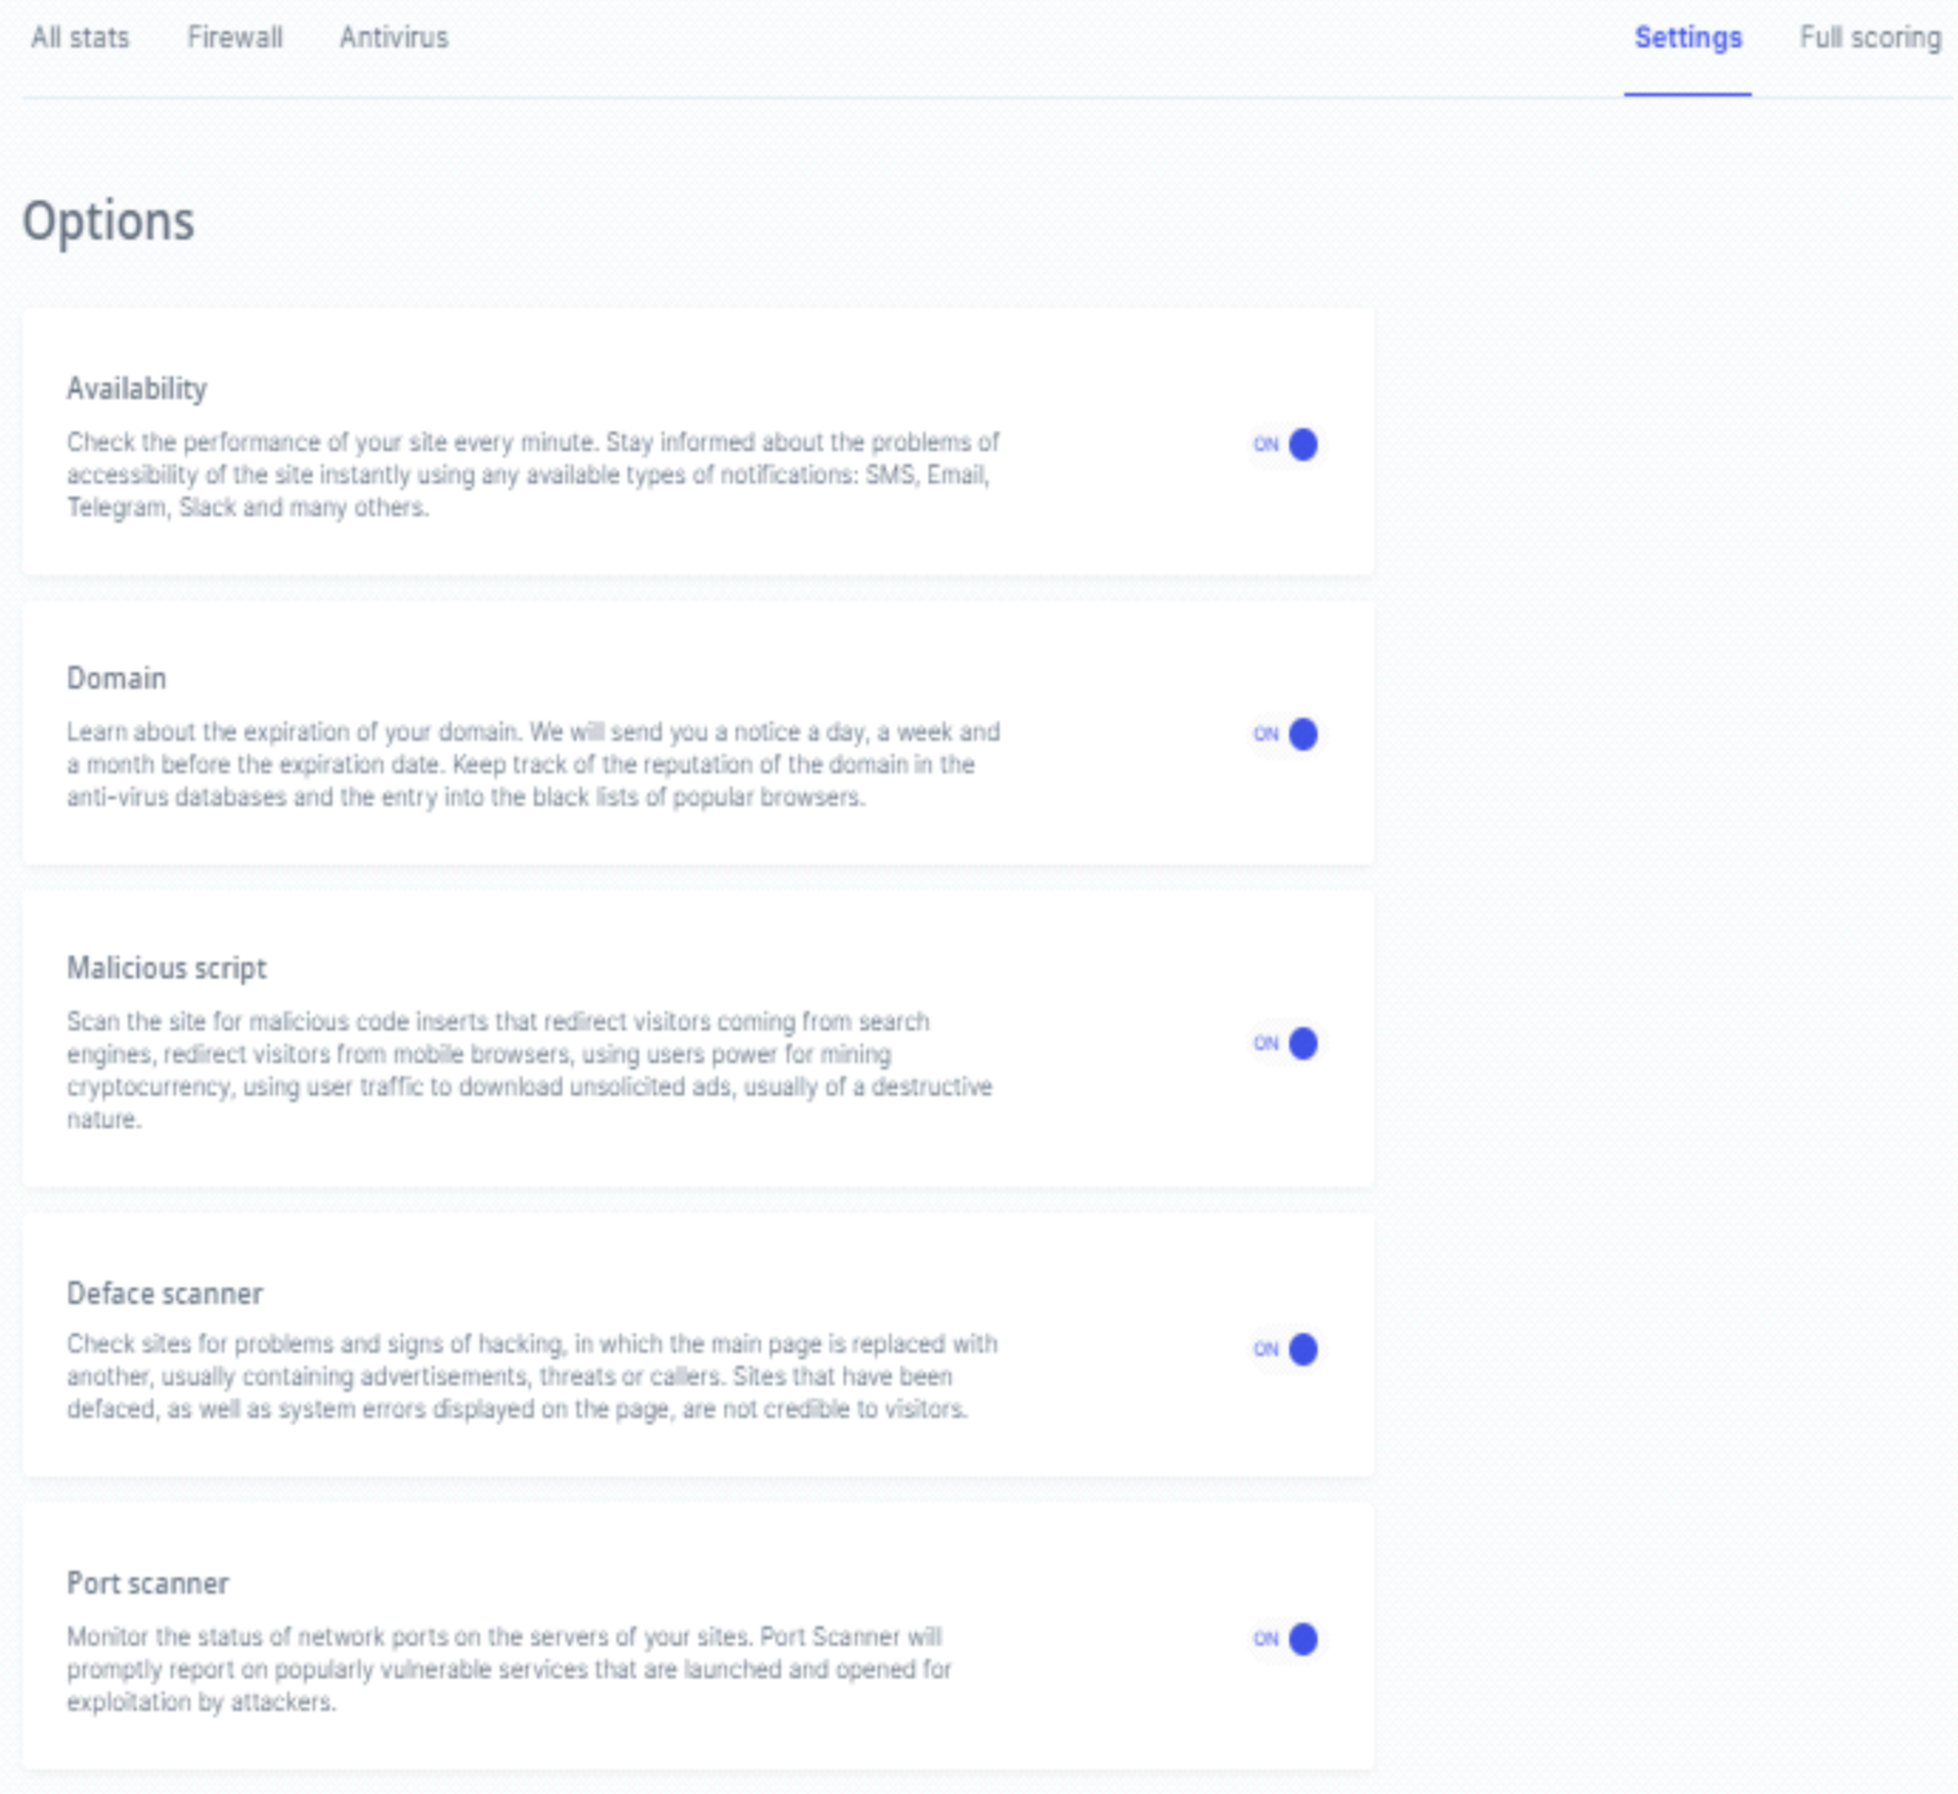
¶ Settings page
In the “Settings” menu, you can view and adjust the settings of the modules.
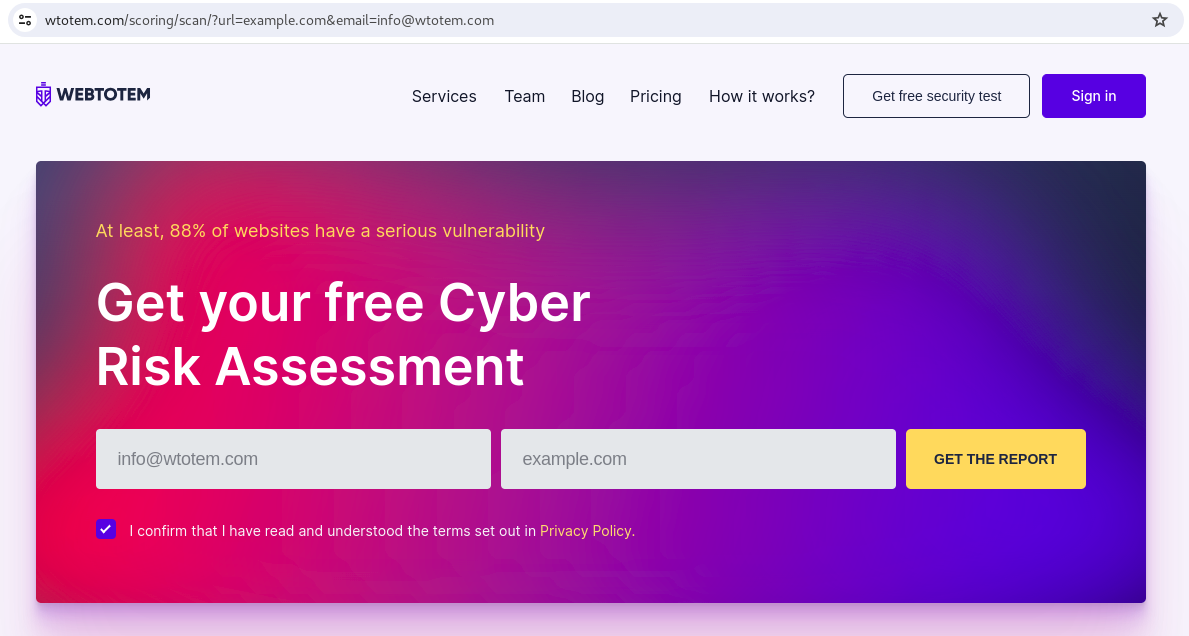
¶ Full scoring
In the “Full Scoring” menu, you will be redirected to the WebTotem page, where you can carry out a full website analysis for free.