¶ Extension for Joomla
Plugin for Joomla 3, Joomla 4, and Joomla 5!
¶ Installing a plugin for Joomla
- Go to the admin console of your Joomla site
- Open the "System" page
- In the "Install" block, click on "Extensions"
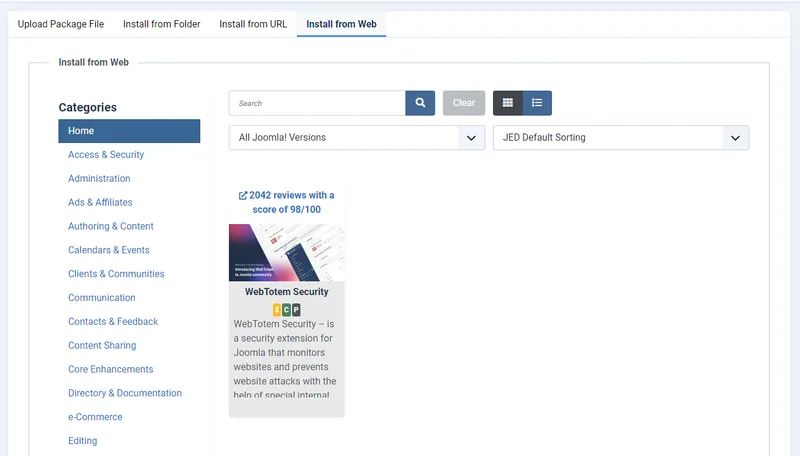
- Go to the "Install from Web" tab
Alternatively, you can download the plugin from here.
¶ Post-Installation
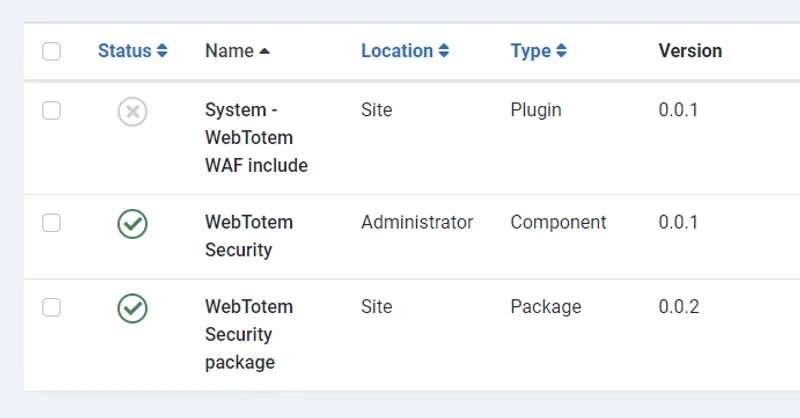
After installing the extension package, activate the "System - WebTotem WAF Include" for the Web Application Firewall (WAF) to function correctly.
¶ Activating the plugin
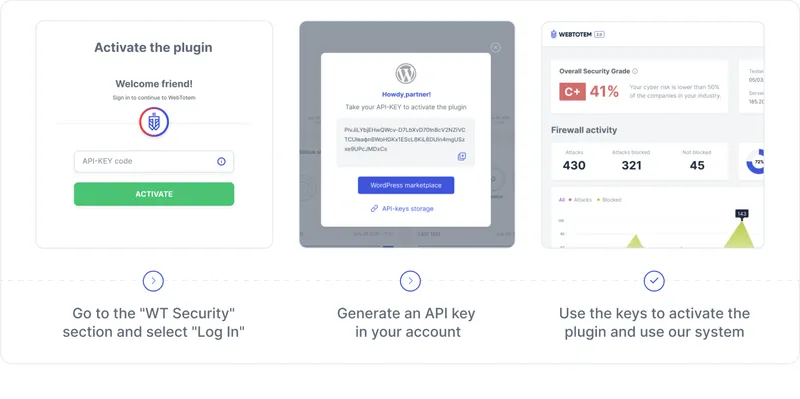
- Navigate to the admin console of your WordPress site
- Go to the “WebTotem” section
- Select “Log In”
- Generate an API key in your account
- Use the API key to activate the plugin
You will be redirected to a page with information about your website, and the agent installation process will begin automatically.


¶ Main Elements of the Plugin
¶ Top menu

For convenience during day and night usage, the interface includes a theme switch.
¶ Dashboard page
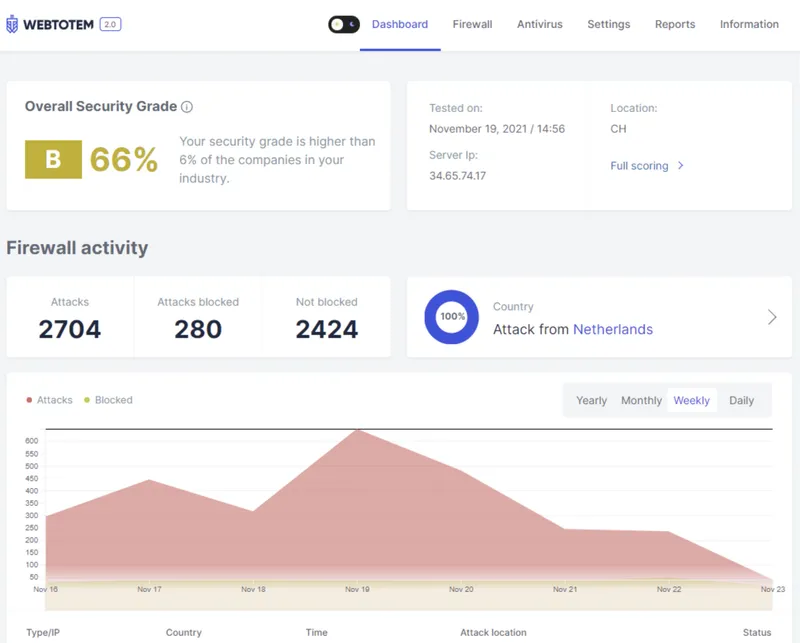
On the "Dashboard" page, you can get data on the following:
- Summary information on the Firewall and Antivirus modules (described in detail on the separate pages)
- Server Resources tracks different characteristics of your server, such as Random Access Memory and CPU Load Average
- SSL Scanner: keeps you informed about SSL certificate updates
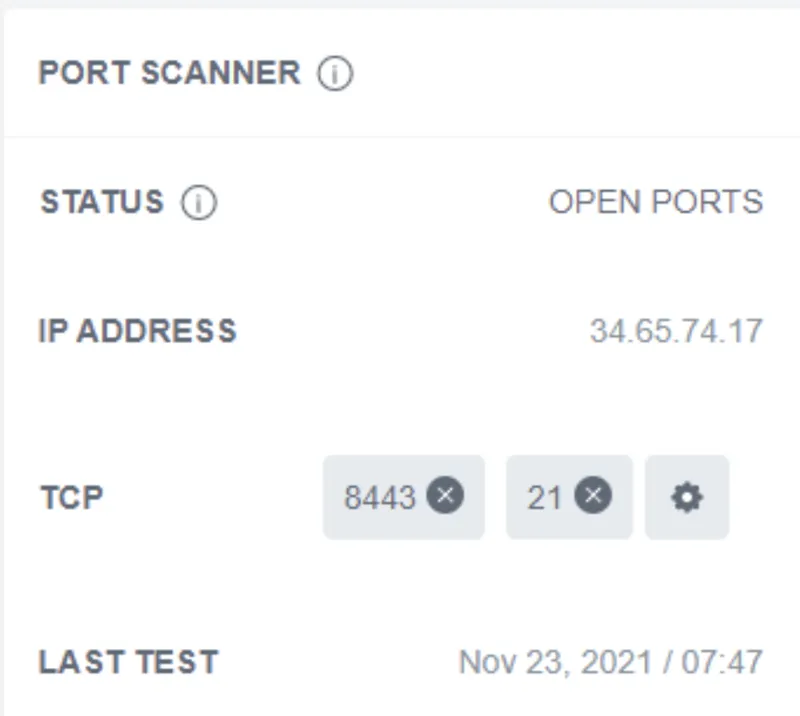
- Port Scanner: informs you about the state of open TCP/UDP ports on the server, where your website is hosted. Also, it tells you about the new port opening
¶ Firewall page
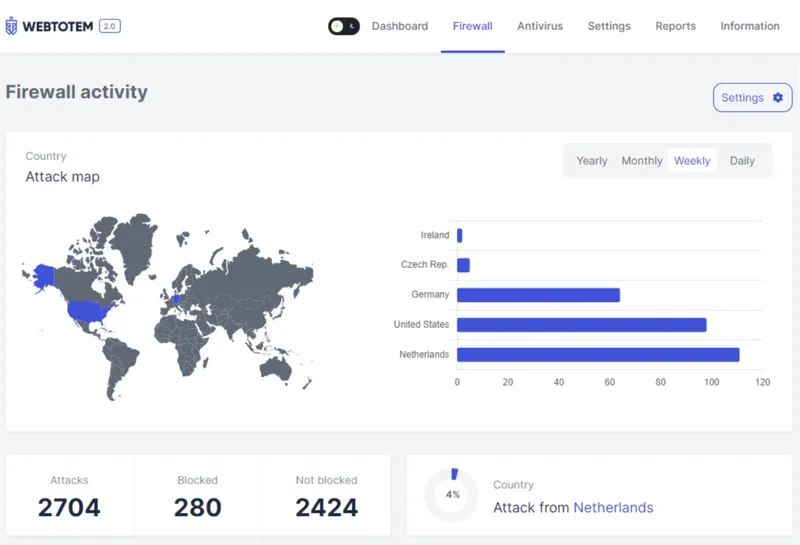
The "Firewall" page displays all data related to attacks on the site.
¶ Antivirus page
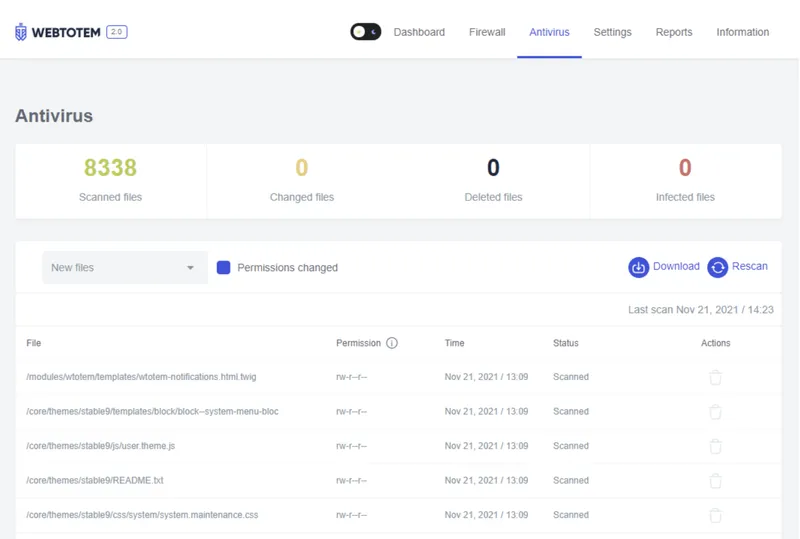
The "Antivirus" page allows you to view data on scanned site files and download reports.
¶ Settings page
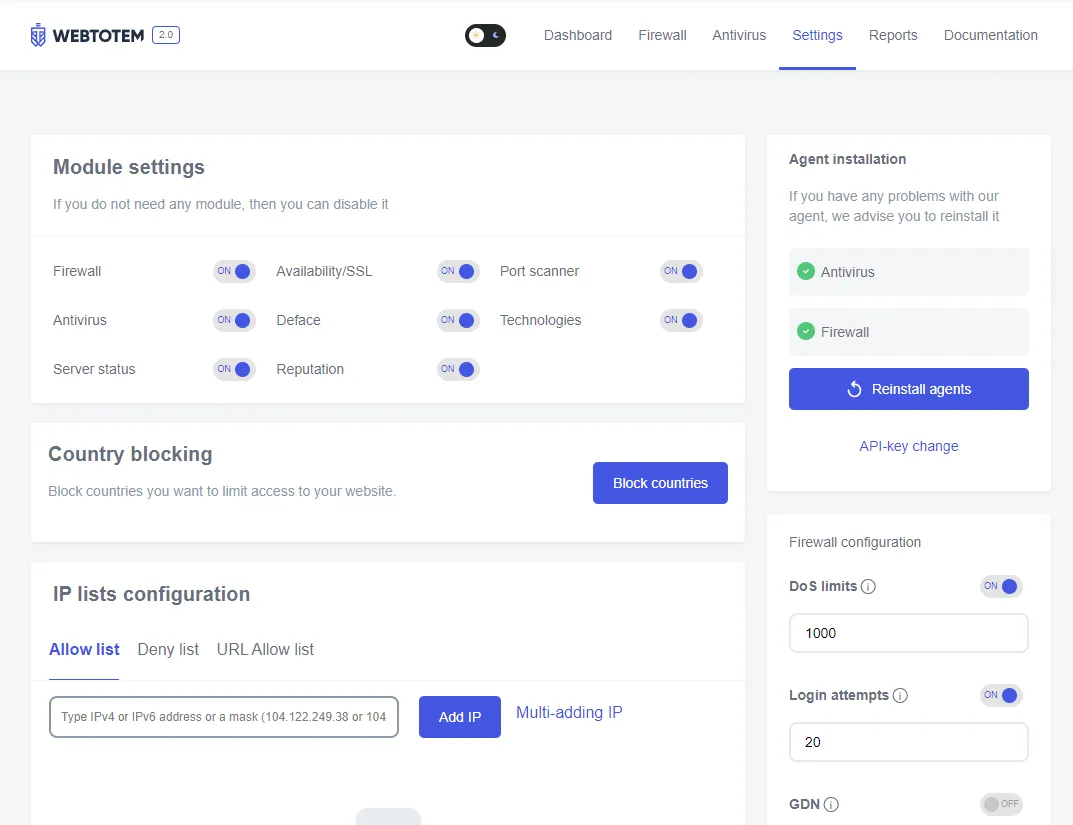
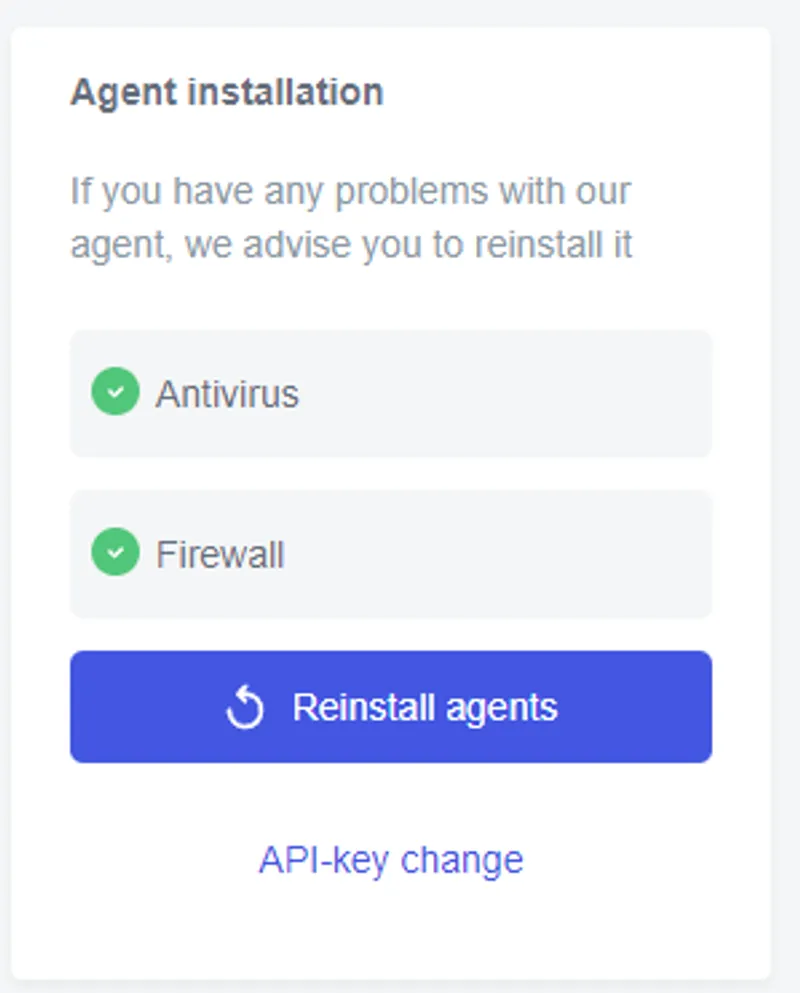
Additionally, on the Settings page, you can initiate the reinstallation of agents or change the API key.
¶ Reports page
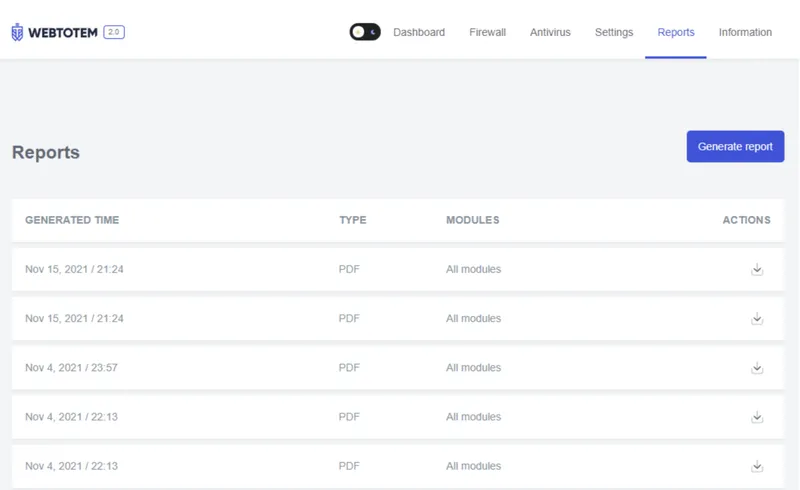
On the “Reports” page, you can generate reports on selected modules and download the created reports.
¶ Documentation page
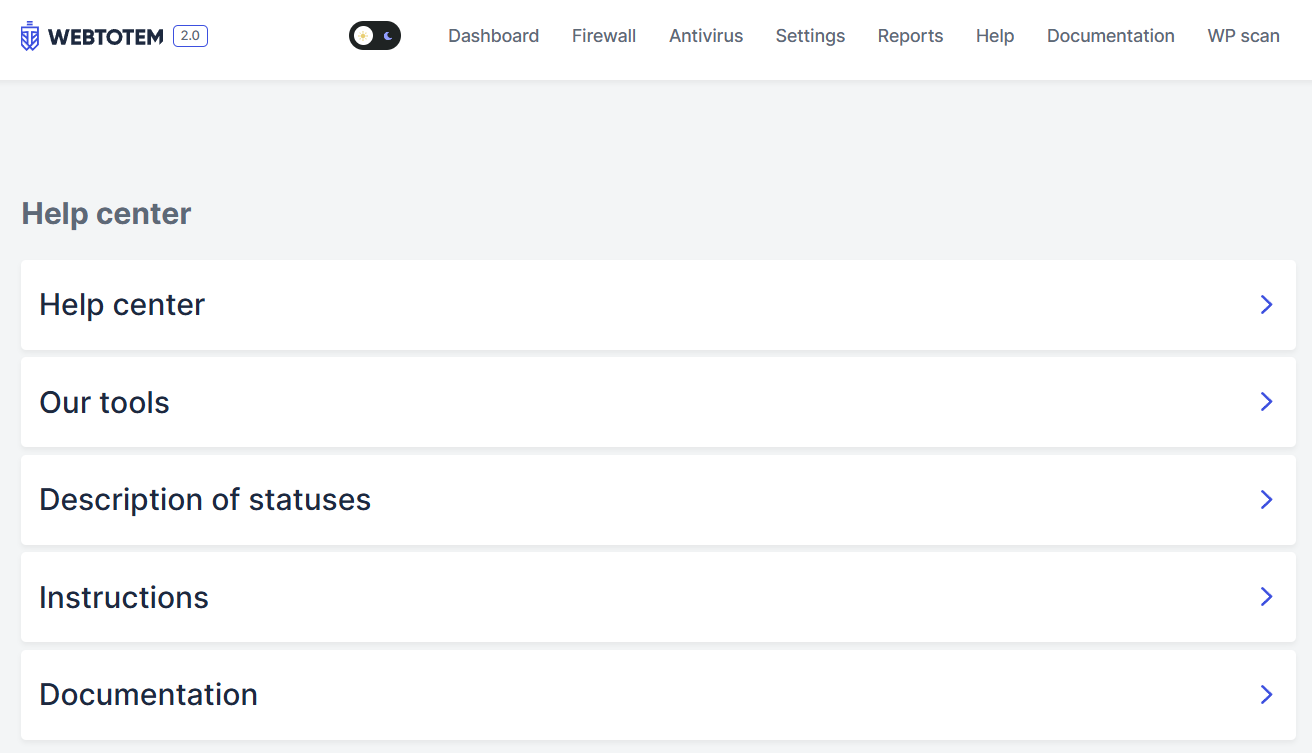
The “Documentation” page provides links to the plugin documentation and its modules.
¶ How to add a port to the "Ignore list"
If a port is intentionally open and you want to hide notifications about it, you can add this port to the "Ignore" list.
- On the “Dashboard” page, locate the “Scanning” section and navigate to the “Port Scanner” subsection
- Under the “TCP” item, click on the button with the gear icon. This will open a modal window with a form for adding a port to the "Ignore" list
- Specify the port in the field and click “Send,” or click the “Plus” icon next to the port numbers you want to ignore
